To Get Started with SmartFlow:
Log in to Your Shopify Store Dashboard
Go to: https://(your-shop-url.com)/admin/
Once logged in, you should see a menu on the left-hand side of your screen. Select Apps, then choose the SmartFlow app.
Access the SmartFlow Dashboard
After selecting SmartFlow, you'll land on your SmartFlow Dashboard.
Click on any of the Create Funnel.
Create Your Funnel
Name Your Funnel: Enter a name for your funnel and click Proceed.
Set Audience and Conditions
The next step is to determine who will see the funnel and under what conditions it will appear.


Who should see this funnel?
A. All Customers (recommended)

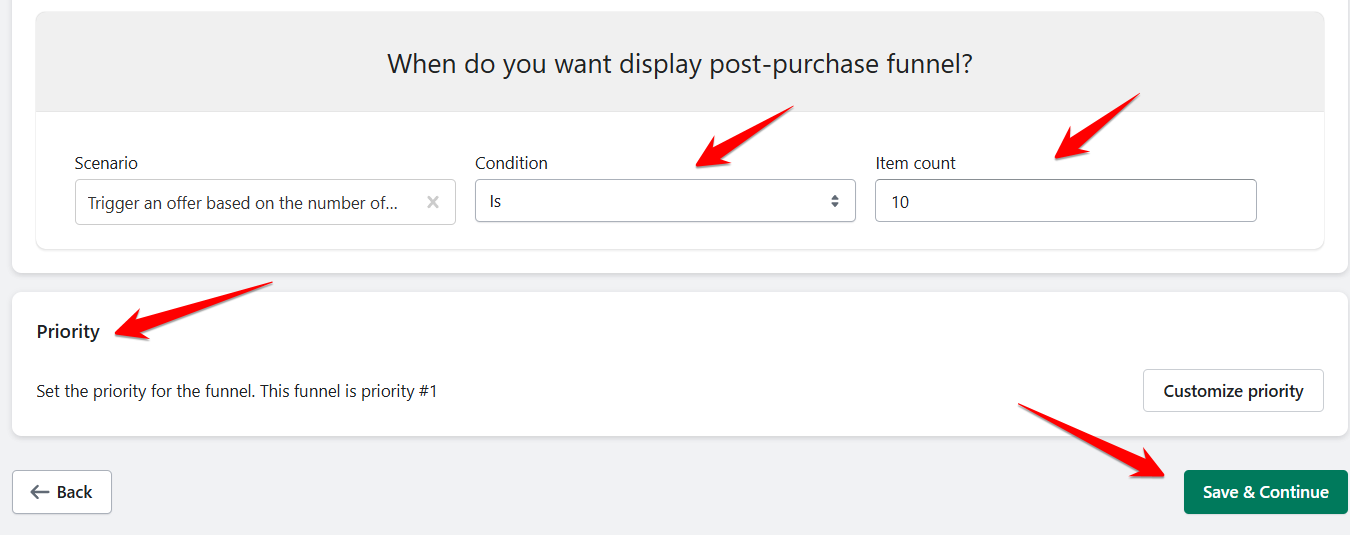
Set the priority. The app will assign a default priority number, but you can customize it.

Use the Up or Down buttons to adjust the priority, then click Save & Close.
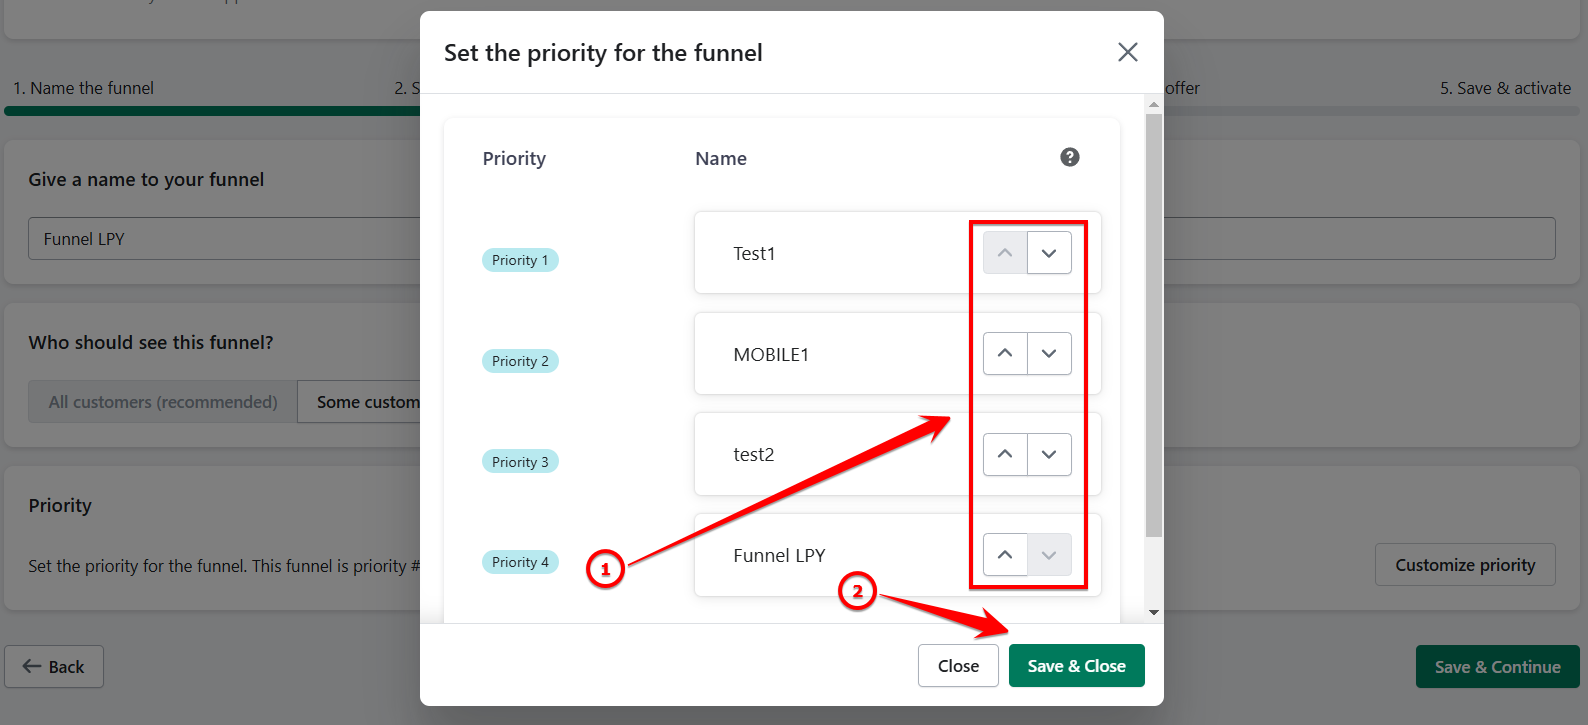
Click Save & Continue to move to the next step.
B. Some customers based on predetermined criteria
If you choose this option, you'll need to pick a scenario (e.g., "When do you want the post-purchase funnel to display?").
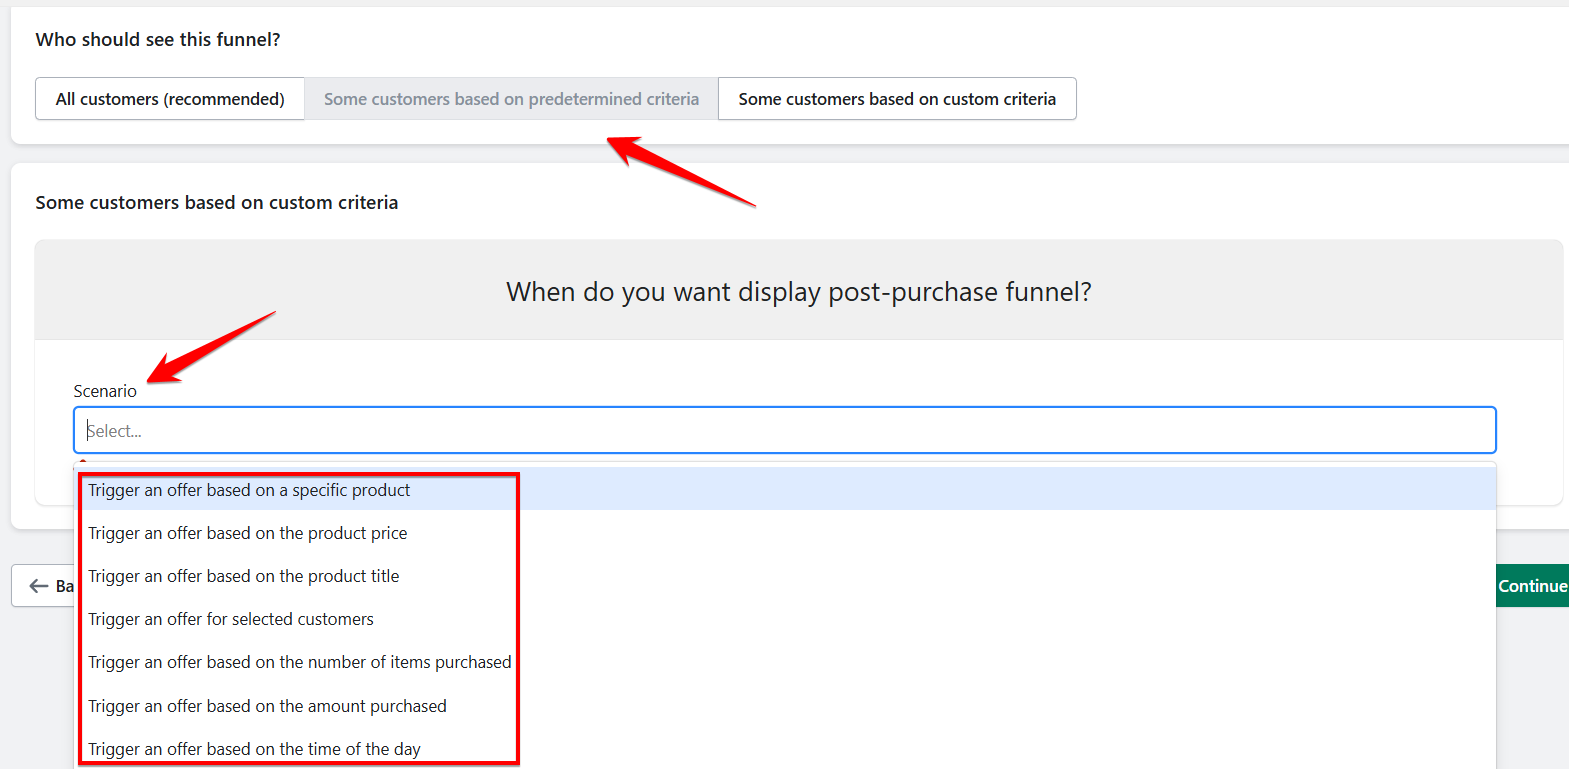
Here are the options you can choose from:
Trigger an Offer Based on a Specific Product - choose a condition and select from your Store Inventory. Set the priority, then click Save & Continue.
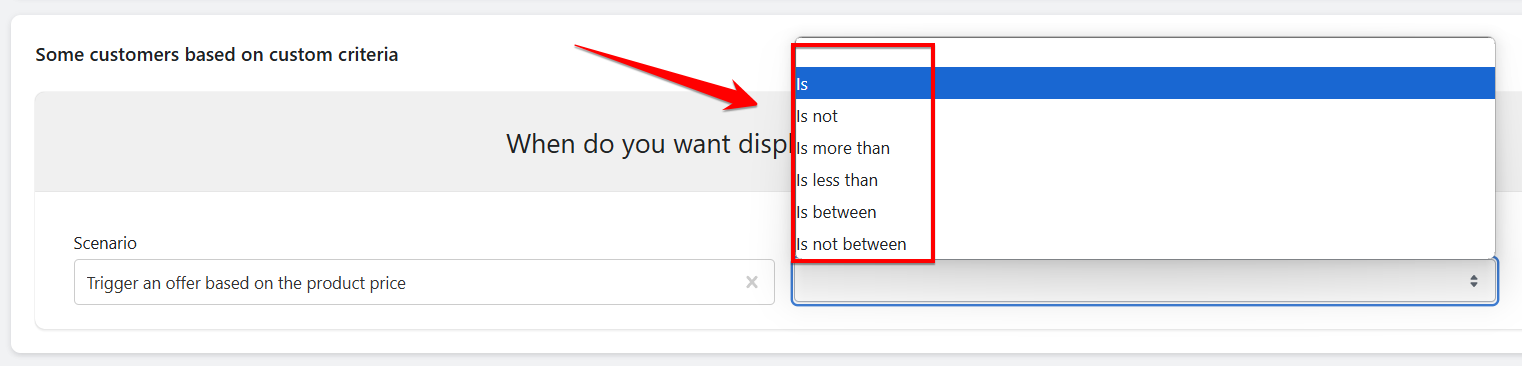
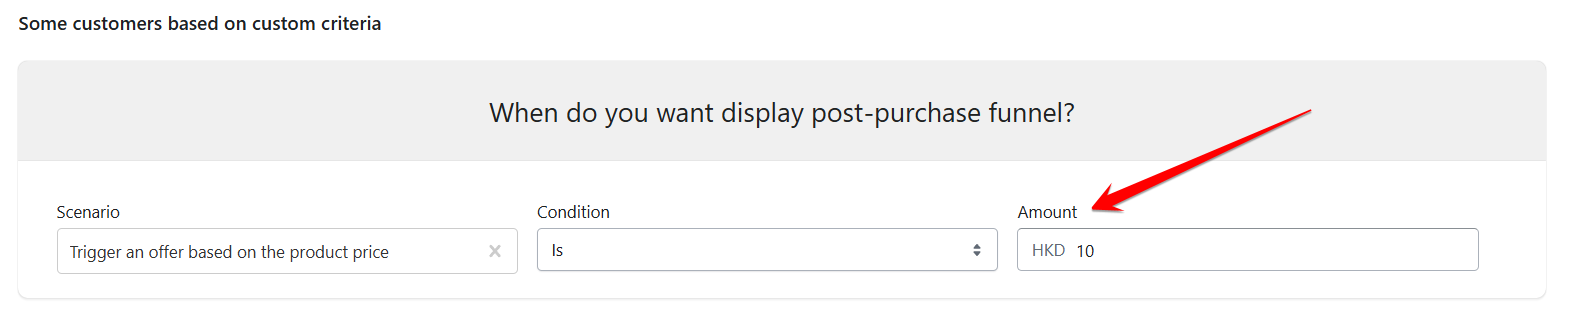
Trigger an Offer Based on Product Price - choose a condition and enter the Amount. Set the priority, then click Save & Continue.
Trigger an Offer Based on Product Title - choose a condition and enter the Text Value. Set the priority, then click Save & Continue.
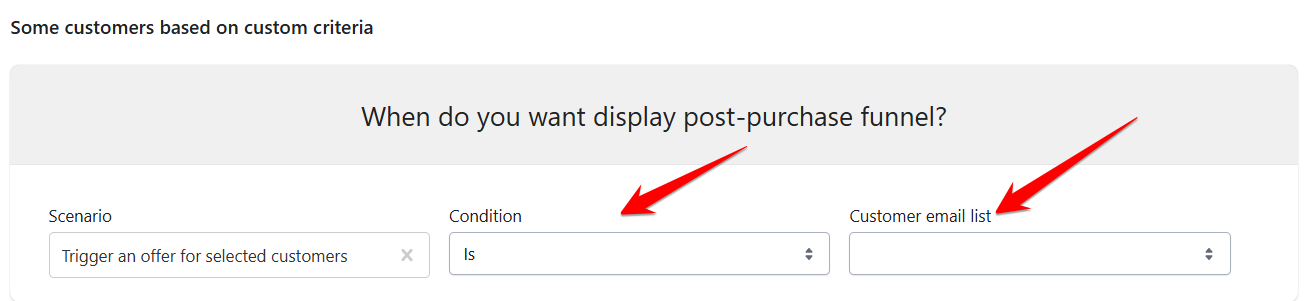
Trigger an Offer for Selected Customers - choose a condition and enter the Customer Email List. Set the priority, then click Save & Continue.
Trigger an Offer Based on the Number of Items Purchased - choose a condition and enter the Item Count. Set the priority, then click Save & Continue.
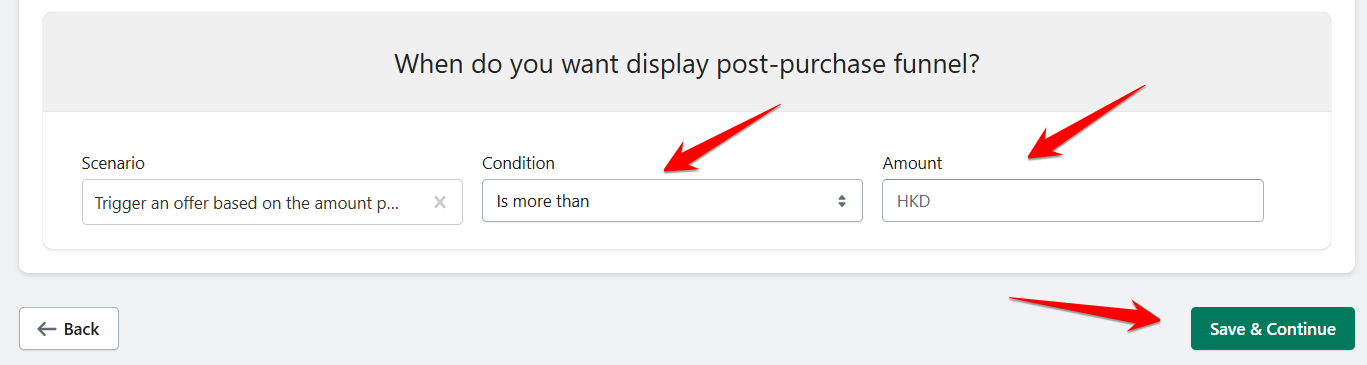
Trigger an Offer Based on the Amount Purchased - choose a condition and enter the Amount. Set the priority, then click Save & Continue.
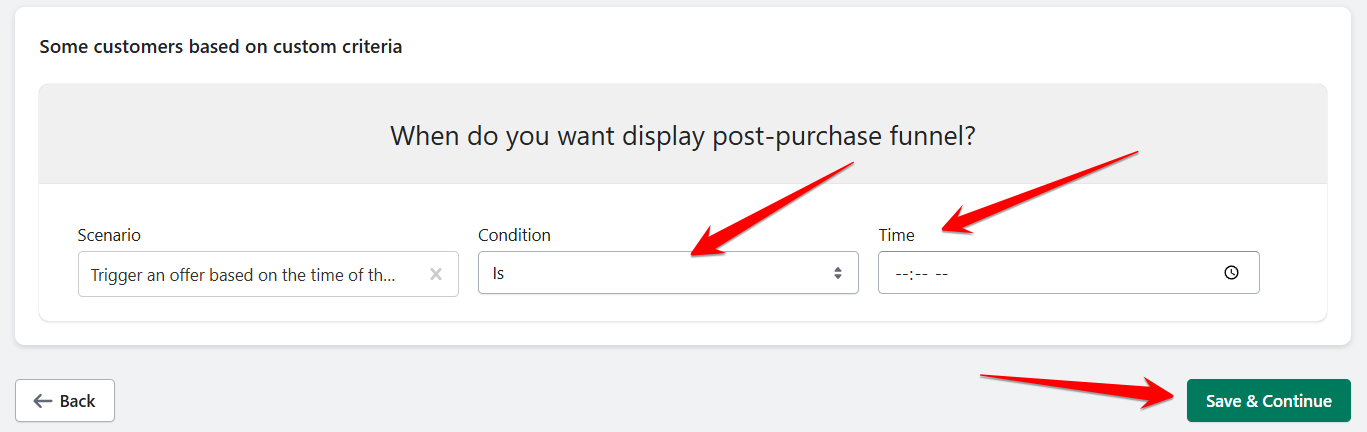
Trigger an Offer Based on the Time of Day - choose a condition and enter the Time. Set the priority, then click Save & Continue.


C. Some customers based on custom criteria
If you chose this option, you will be asked to pick a 'Category' (When do you want display post-purchase funnel?)
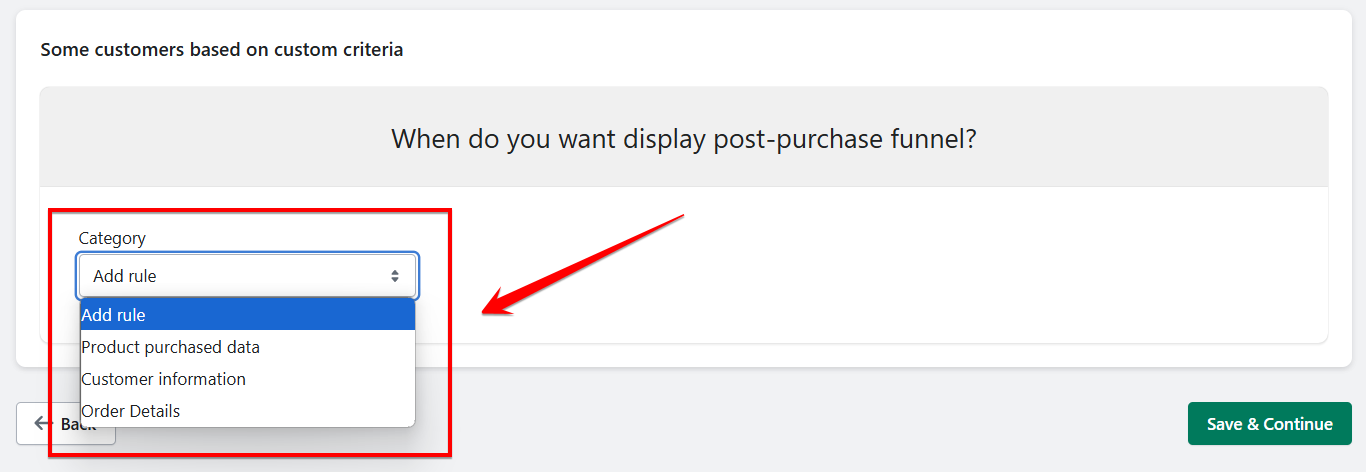
Again, let's take this up one by one:
Product purchased data - Set the Parameter
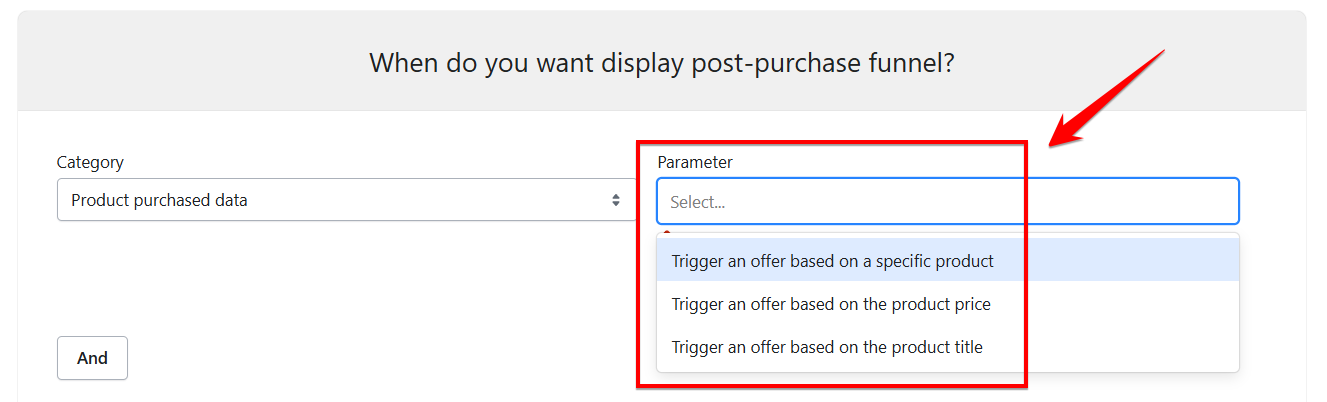
Eg. Trigger an offer based on a specific product - Add a condition and tick on the store inventory. Then make a note of the 'AND' and 'OR' options, you can add another Parameter if you choose 'AND' and 'OR'. Once you are good with your triggers, hit 'Save & Continue'.
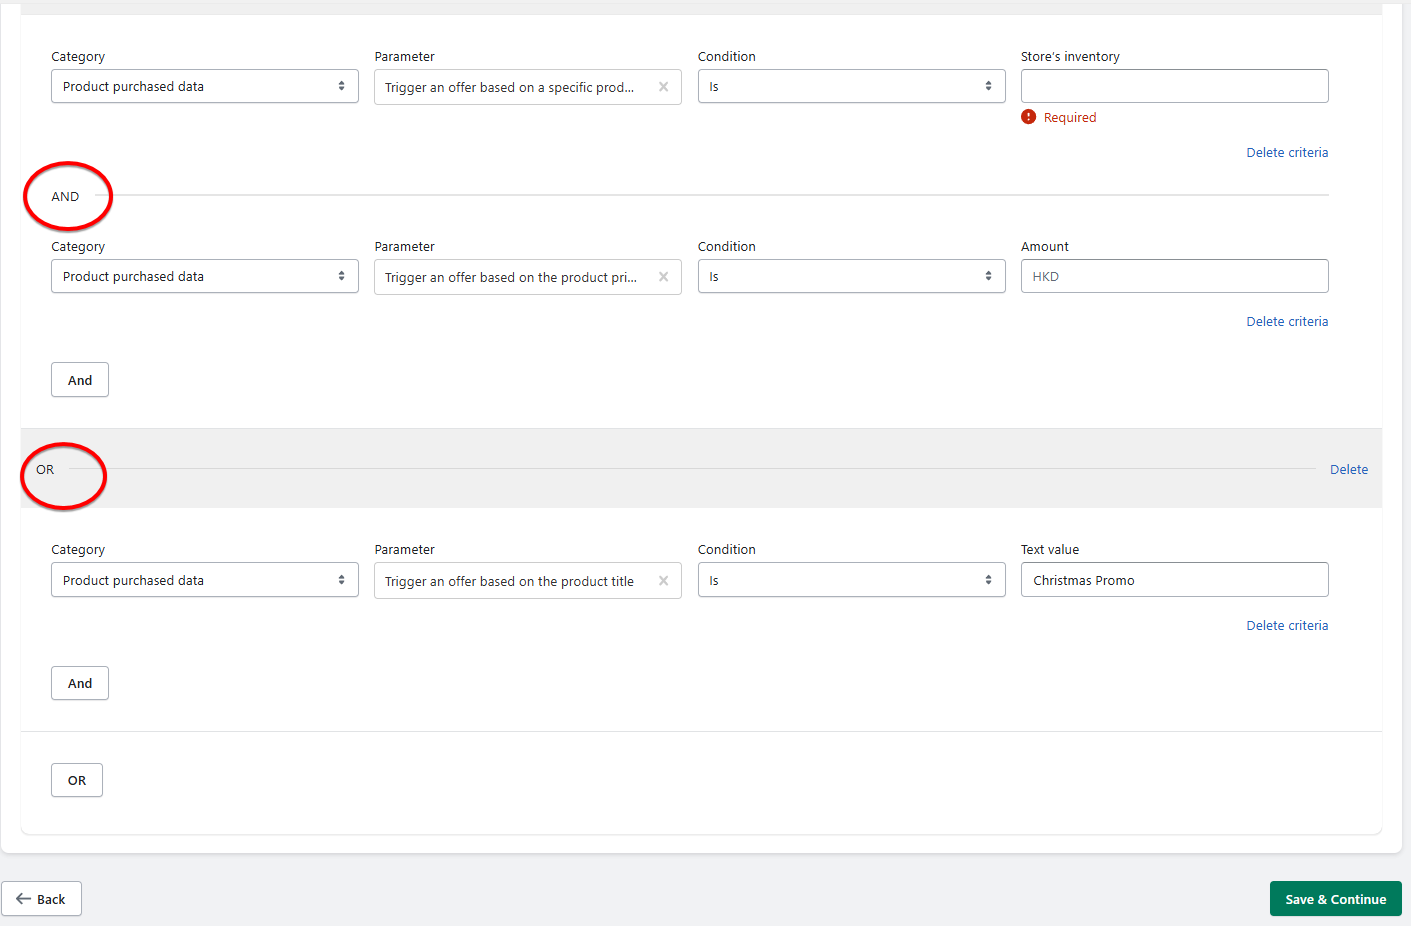
The 'AND' condition requires the first two categories to be satisfied for the funnel to trigger, regardless of whether the third ('OR') category is met. However, if only the third ('OR') category is satisfied, the funnel will still work, even if the first two categories are not met, because it is an 'OR' condition.
On the other hand, if there is no 'OR' condition, both 'AND' requirements must be fulfilled for the funnel to activate.
4. Customize offer
Select Offer by either ' Creating from offer templates, creating from your previous offers or create a custom offer. Once done, hit 'Continue'.
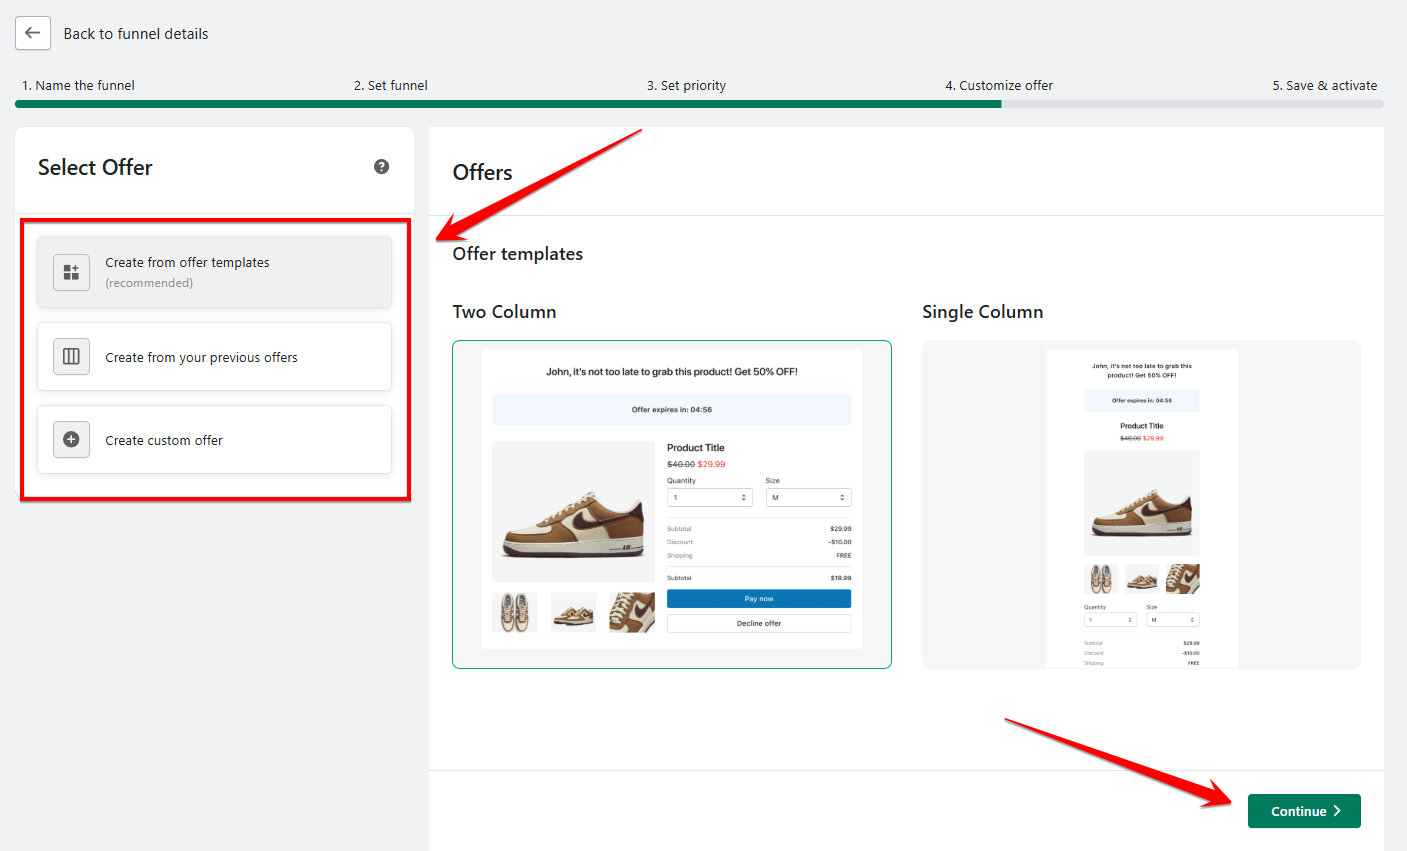
You will be directed to the 'Offer Editor'. From here, you can edit the settings
Product to offer
Discount
You can also edit the Blocks:
Offer title
Countdown
Product title
Product description
Product images
Product price
Quantity and Variants
Divider
Discounts and Shipping
Offer buttons
Offer text
Divider
You can also add a 'Second offer' in this section.
Once satisfied, click 'Save & Continue'
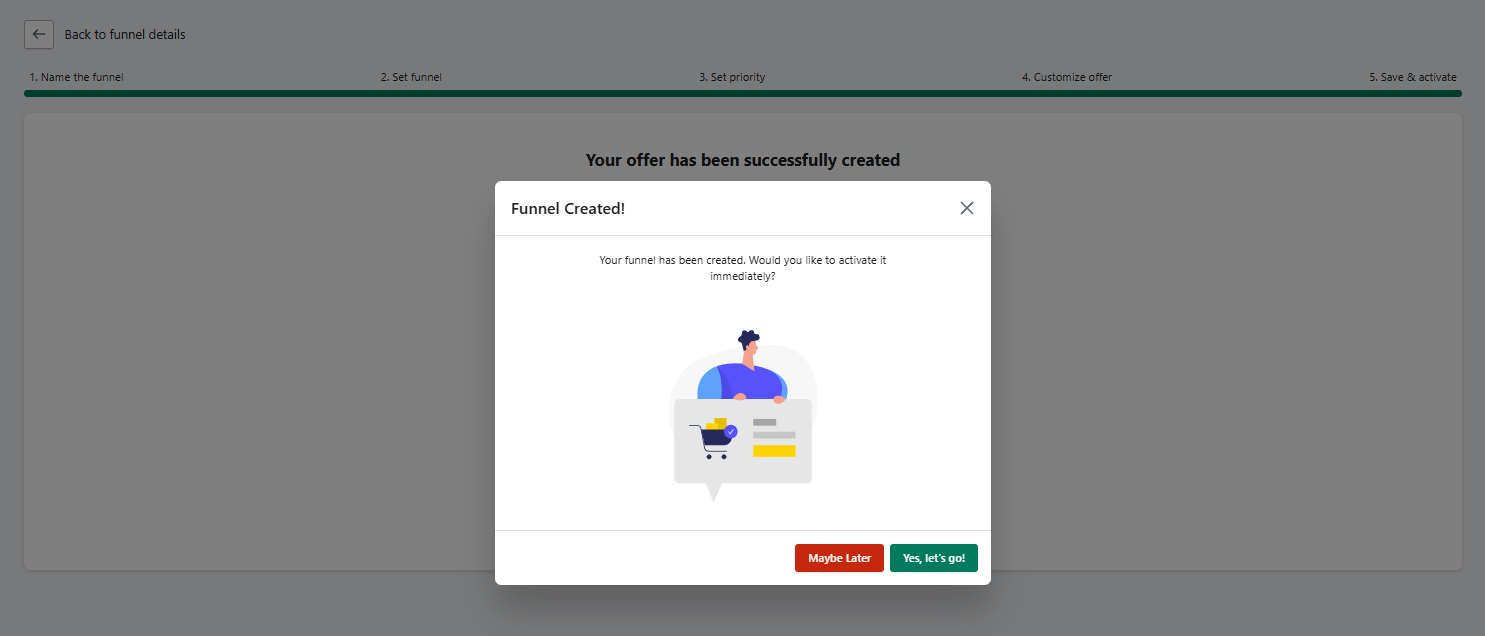
Congratulations! You have just created your first funnel!
Keywords:
How do I create and customize a funnel in SmartFlow?
What are the steps to set conditions and priorities for a SmartFlow funnel?